This post may contain affiliate links. Please read our Disclosure Policy
How to Clean a BBQ Grill
A clean grill cooks better, smells better, and is a whole lot more fun to use.
But if your grates are covered in burnt-on food and the bottom of your grill looks like it survived three summers without a day off, it’s probably time for a proper deep clean.
In this guide, we’ll show you how to deep clean a BBQ grill from top to bottom, including the grates, heat shields, burners, grease tray, and those annoying hard-to-reach spots. We’ll also cover the right way to clean different types of grill grates, because stainless steel, cast iron, and porcelain-coated grates don’t all want the same treatment.
Grab your cleaning tools, put on some music, and let’s bring that grill back to life.
How Often Should You Deep Clean Your Grill?
For most backyard grills, a proper Deep Clean 2–3 times per year is a good rule of thumb.
But grills don’t exactly follow calendars. If you’re firing yours up several nights a week, cooking a lot of fatty foods, or opening the lid to discover a small archaeological layer of grease and burnt food, it’s probably time to clean sooner.
A good routine is:
- After every cook: Brush or scrub the grates and remove obvious food residue.
- Every few weeks: Check the grease tray, grates, and heat shields for buildup.
- Every 3–6 months: Give the entire grill a proper deep clean.
- Before or after grilling season: Deep clean it before heavy use or before putting it away for winter.
What You'll Need
You don’t need a garage full of tools to deep clean a grill. A few basics will handle almost everything:
Cleaning gloves – Cleaning a grill can get messy.
Paper Towels (or an old rag) – For wiping grease and finishing the exterior.
Degreaser – Helps loosens tough build-up.
Bristle Free Grill Brush & Scraper – For cleaning the grates
★ One Tool We Really Liked ★
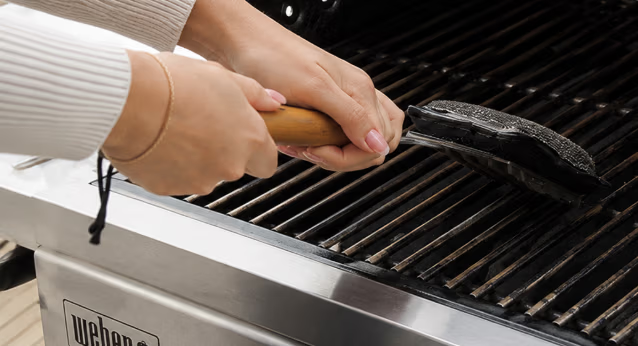
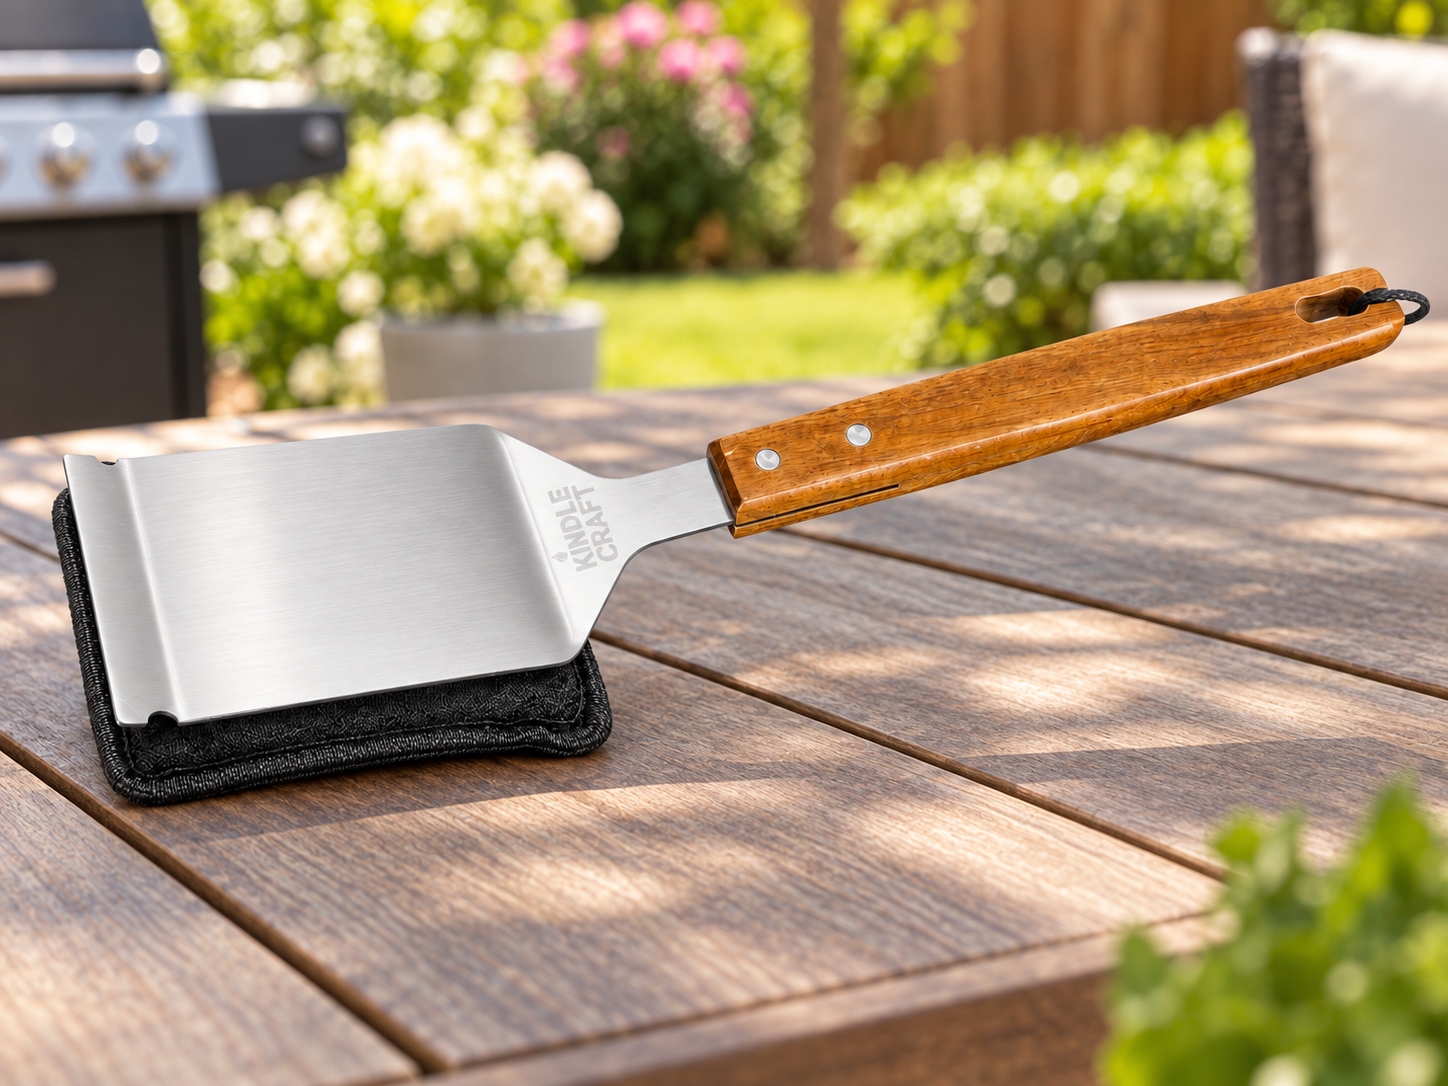
For the grates, we prefer a Bristle-Free Steam-Style Grill Brush. It handles the main cooking surface with low to no effort, while a removable cleaning pad can also be used by hand to reach between the grates, underneath them, and into those awkward corners your full-size brush can’t quite reach.
Know Your Grill Grates Before You Start
Not all grill grates should be cleaned the same way.
- Stainless Steel: Durable and easy to clean. Scrub, wash if needed, and dry.
- Cast Iron: Clean gently, dry right away, and add a light coat of oil.
- Porcelain-Enameled Cast Iron: Use a bristle free scrubber and avoid damaging the coating.
- Porcelain-Coated Steel: Clean gently with mild soap and avoid harsh scraping.
How to Clean a BBQ Grill (Simple)
Cleaning your grill doesn’t need to turn into a weekend project.
For everyday cleaning, three simple steps are usually enough to get those grates looking good and ready for the next cook.
And here’s the trick: clean it while the grill is still warm and the mess hasn’t had time to settle in. Your future self will thank you.
Here’s how I do it.
1. Heat Up the Grill
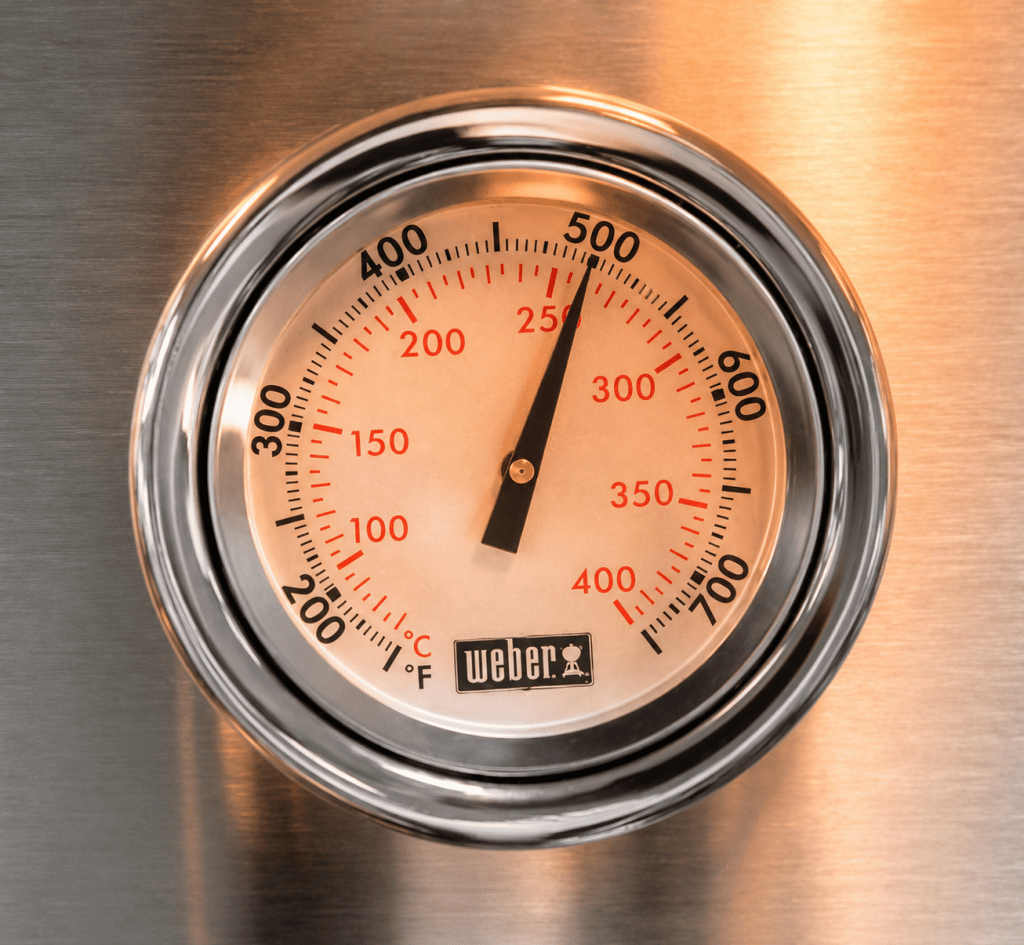
Let the grill heat up for a few minutes. The heat helps loosen food, grease, and anything stuck to the grates.
2. Scrape Away Tough Buildup
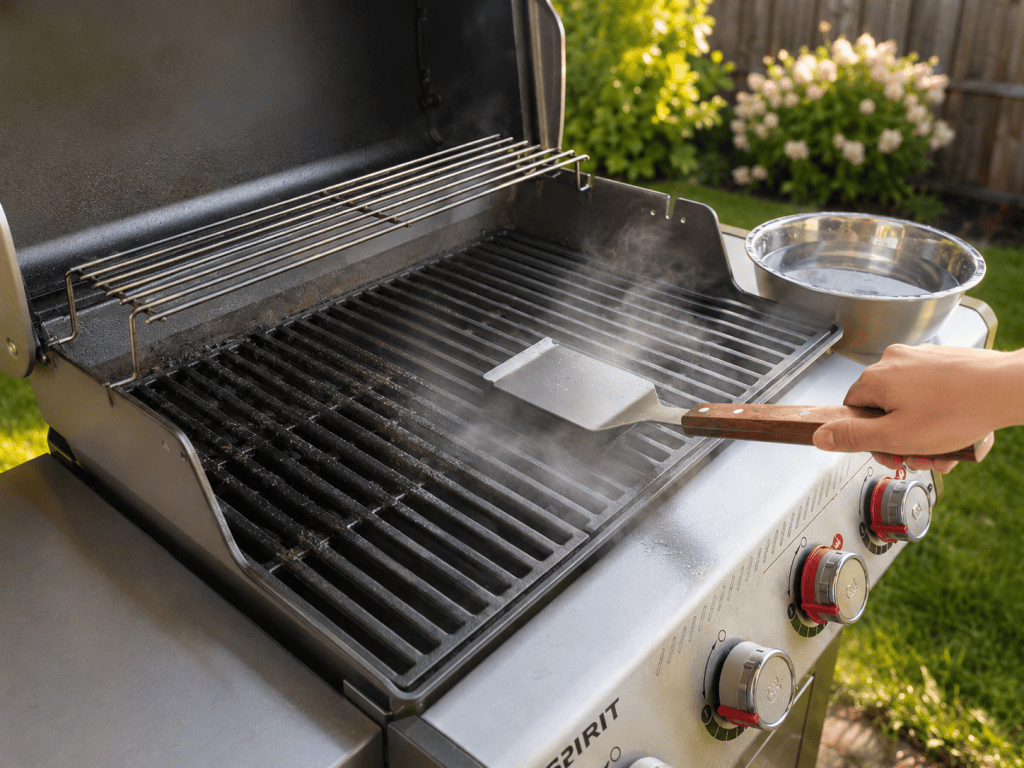
If you have stubborn burnt-on food, use a grill scraper to break it loose first. (If the grates are already in good shape, you can skip this step.)
3. Wet the Brush & Scrub your Grill
Dip your bristle-free grill brush in water and scrub the hot grates.
The water creates steam, helping loosen grease and leftover food while you clean.
Give the tops, sides, and spaces between the grates a good scrub.
And that’s it — your grill is ready for the next cook.
Chef Ember TIP 
The easiest grill to clean is the one you don’t let get filthy.
A quick scrub after each cook usually takes just a few minutes and saves you from dealing with months of burnt-on grease later.
How to Deep Clean a BBQ Grill (Step by step)
1. Turn It Off and Let It Cool
Shut off the gas, unplug pellet or electric grills, and make sure the grill is cool enough to work on safely.
2. Clean the Grill Grates
Scrub away burnt food and grease with a safe grill brush or scrubber.
For tougher buildup, warm water and a little degreaser can help.
Just remember:
- Stainless steel: Scrub, wash, and dry.
- Cast iron: Clean, dry immediately, and lightly oil.
- Porcelain-coated: Use a gentler scrubber to protect the coating.
2. Remove the Grates and Internal Parts
Take out the cooking grates, warming rack, heat shields, Flavorizer bars, or other removable parts.
This makes it much easier to reach the grease and debris hiding underneath.
4. Clean the Inside of the Grill
Scrape loose grease, carbon, and burnt food from the walls and bottom of the cookbox.
You don’t need the inside to look brand new — the goal is to remove heavy buildup.
5. Clean the Grease
For gas grills, empty and clean the grease tray.
For charcoal grills, remove old charcoal and ash.
For pellet grills, vacuum loose ash from the bottom and firepot once everything is completely cool.
6. Check the Burners and Internal Parts
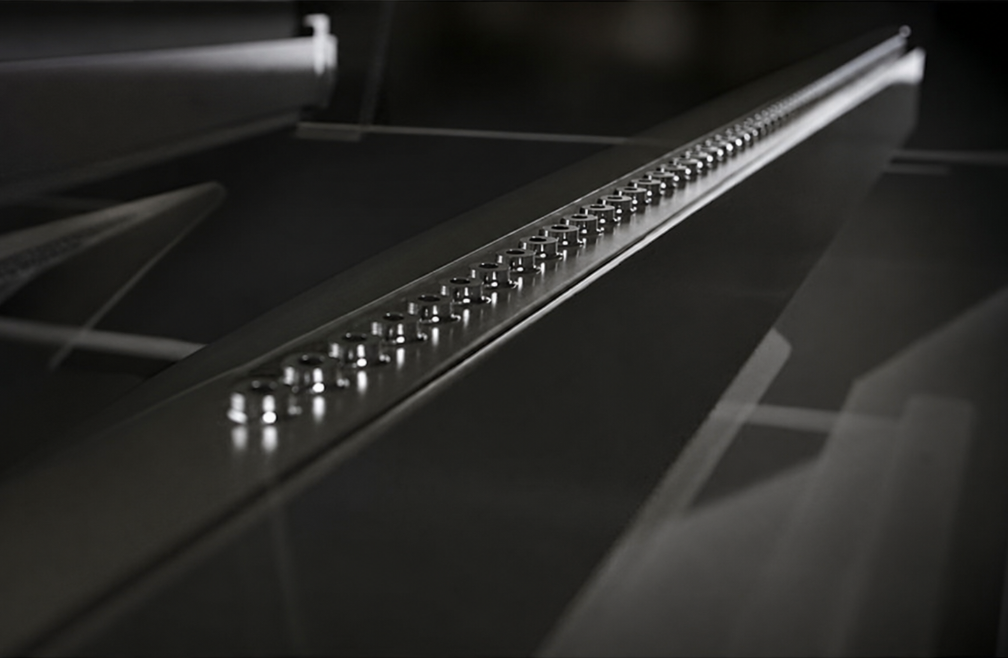
On gas grills, make sure the burner holes aren’t blocked.
On pellet grills, check the firepot and airflow areas for excess ash.
Avoid pouring water directly over burners or electrical components.
7. Reassemble the Grill
Once everything is clean and dry, put the heat shields, grates, grease tray, and other parts back into place..
8. Finish the Outside
Wipe down the lid, shelves, handles, and control panel with a damp microfiber cloth and the appropriate cleaner for the surface.
And just like that, your grill goes from “we’ll deal with that later” to ready for the next cookout.
A Simple Tool That Makes Grill Cleaning Easier
The biggest problem is usually the grease and food buildup that gets cooked onto the grates. If you let that buildup sit, it gets harder to remove the next time you grill.
A good grill brush makes the whole process much easier.
Instead of relying on traditional wire bristles, I prefer using a bristle-free steam grill brush. You dip the cleaning pad in water, then scrub the warm grates. The water creates steam as you clean, helping loosen stuck-on grease and residue.
For the tougher buildup, the built-in scraper gives you a little extra cleaning power.
It’s a simple process, but it makes a noticeable difference.
It helps:
- Loosen tough grease and cooked-on food with steam
- Clean without loose wire bristles
- Scrape away stubborn buildup
- Reach across the grill with a long handle
- Keep your grill cleaner between cooks
And because the cleaning pads are replaceable and dishwasher safe, you don’t have to throw away the entire brush once the pad gets worn or dirty.
If you grill regularly, having the right cleaning tool makes maintaining your grill a lot less of a chore.
This is the bristle-free steam grill brush I recommend:
Keep It Clean, Keep It Grilling
And that’s it — your grill is clean, fresh, and ready for whatever you’re cooking next.
You don’t need to make your grill look brand new after every burger. A quick clean after each cook and a proper deep clean every few months will keep grease and burnt food from taking over.
Take care of your grill and it’ll take care of dinner.
Now the only thing left to do is fire it up. 🔥