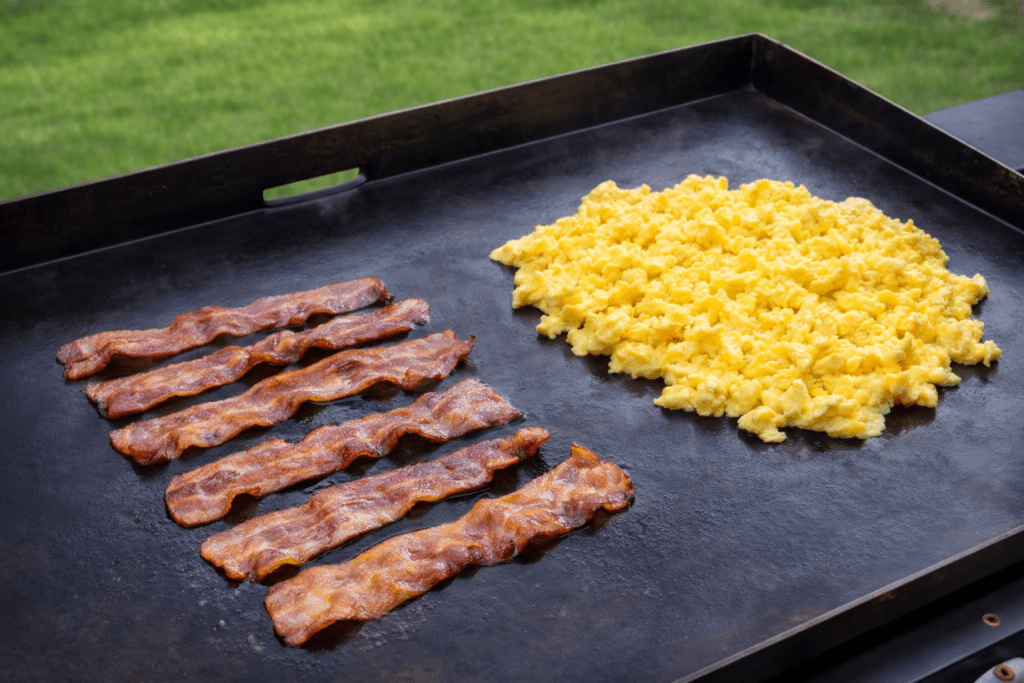
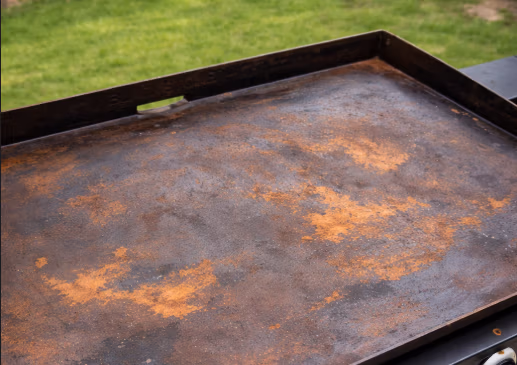
How Rust Affects the Cooking Surface
Rust changes the texture of the griddle and can make the surface feel rough, dry, and uneven. That matters because a smooth, well-seasoned cooktop heats more evenly, releases food better, and is much easier to cook on. Removing rust is not just about looks. It is about getting the griddle back to a clean, dependable cooking surface that performs the way it should. (Excessive rust buildup for illustration)
What You’ll Need to Remove Rust
Before you get started, it helps to have a few basic tools ready. You do not need anything fancy, but using the right supplies will make the cleanup much easier.
Here’s what I recommend having around:
Grill stone
This is one of the best tools for removing surface rust from a griddle. It helps break down rust, stubborn buildup, and rough patches without making the process overly complicated. If your griddle has visible rust, this is the tool that does the heavy lifting.
Paper towels (or lint-free cloths)
You’ll use these to wipe away loosened rust, oil, and residue as you work. They’re also helpful for drying the surface completely before re-seasoning. A clean, dry surface matters more than people think here.
Tongs or heat-resistant gloves (optional)
The griddle surface can stay hot while you work, especially if you warm it slightly first. Tongs help you hold paper towels safely, and gloves can give you better control while protecting your hands from the heat.
Scraper
A scraper helps remove loose debris, flaky rust, and old buildup before you start working with the grill stone. It’s a simple tool, but it makes the whole cleanup process faster and helps you get down to the surface more evenly.
Squeeze Bottle (optional)
A little water can help loosen stubborn spots and make it easier to work through heavier buildup. You do not need much, but having a squeeze bottle nearby gives you better control and keeps things simple while you clean.
High-heat oil or griddle seasoning oil
Once the rust is removed, you’ll need this to build the seasoning layer back up. Use an oil with a high smoke point so it can handle the heat and bond properly to the surface during re-seasoning.
That’s it. No complicated setup and no special equipment beyond the basics. The biggest thing is having the right tools ready so you can remove the rust fully, dry the surface well, and season it the right way afterward.
How to Remove Rust From a Griddle
Step 1: Warm the Griddle Slightly
Start by heating the griddle for a few minutes on low heat. You do not want it screaming hot, just warm enough to loosen up old buildup and make the surface easier to work with. Once it’s slightly warm, turn the heat off before you begin cleaning.
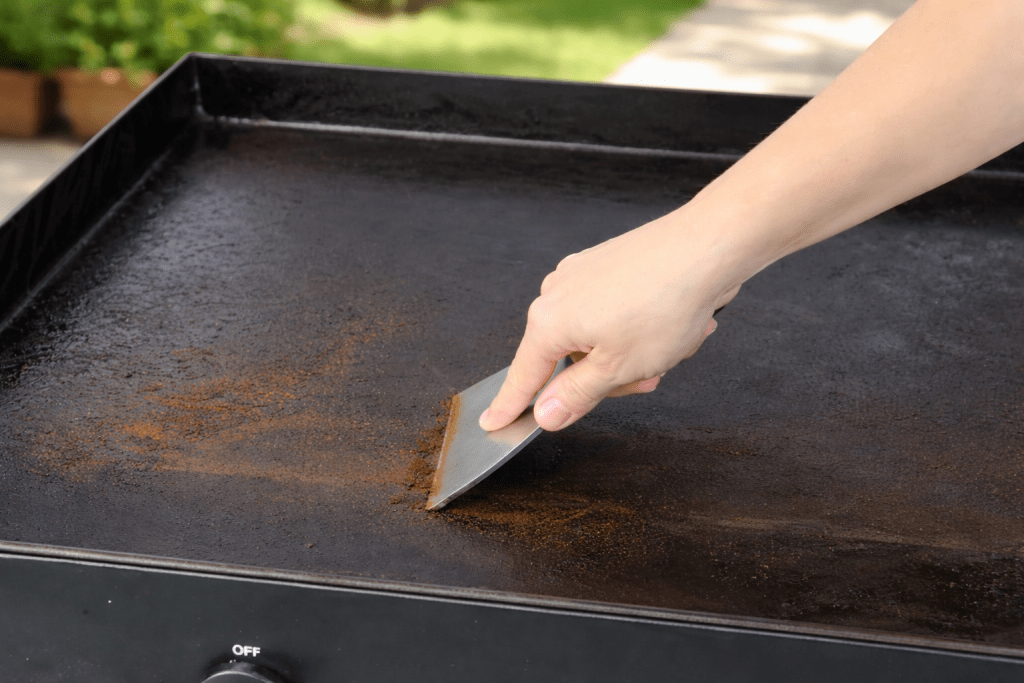
Step 2: Scrape Off Loose Debris and Flaky Rust
Use a scraper to remove any loose rust, old food residue, or flaky buildup sitting on the surface. This gives you a cleaner starting point and helps the next step work much better. Focus on knocking off anything that is already lifting from the cooktop.
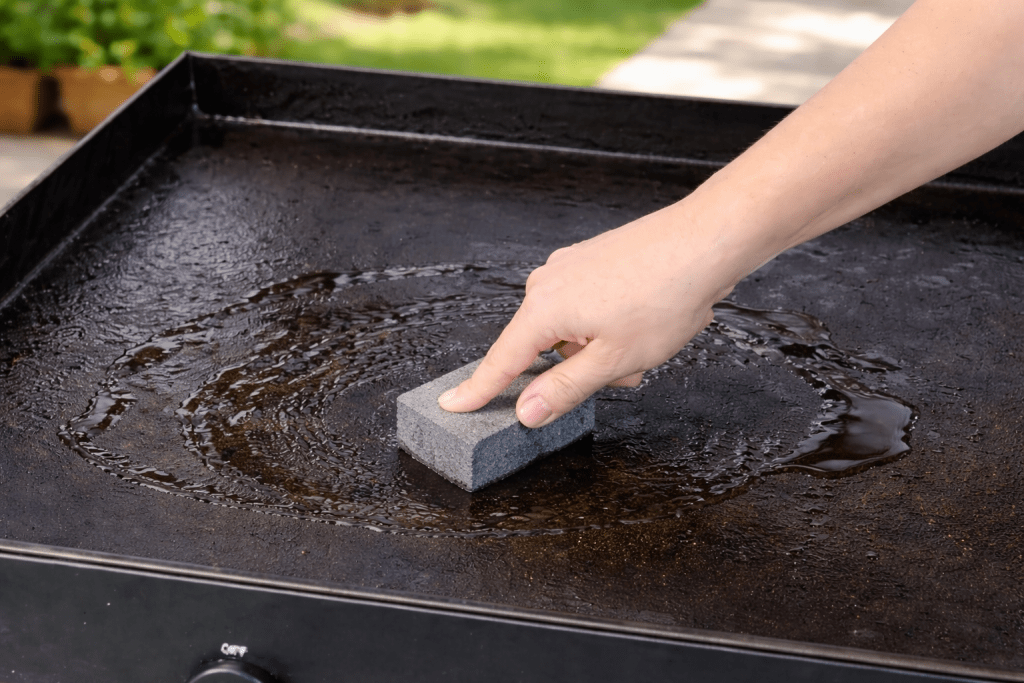
Step 3: Use a Grill Stone on the Rusted Areas
Take your grill stone and work over the rusty spots with firm, even pressure. The griddle surface should be warm or completely cooled down, but the burners should be off. This is the step that does most of the heavy lifting. Keep going until the rust starts breaking up and you can see a cleaner metal surface underneath. For tougher spots, you may need to go over the same area more than once.
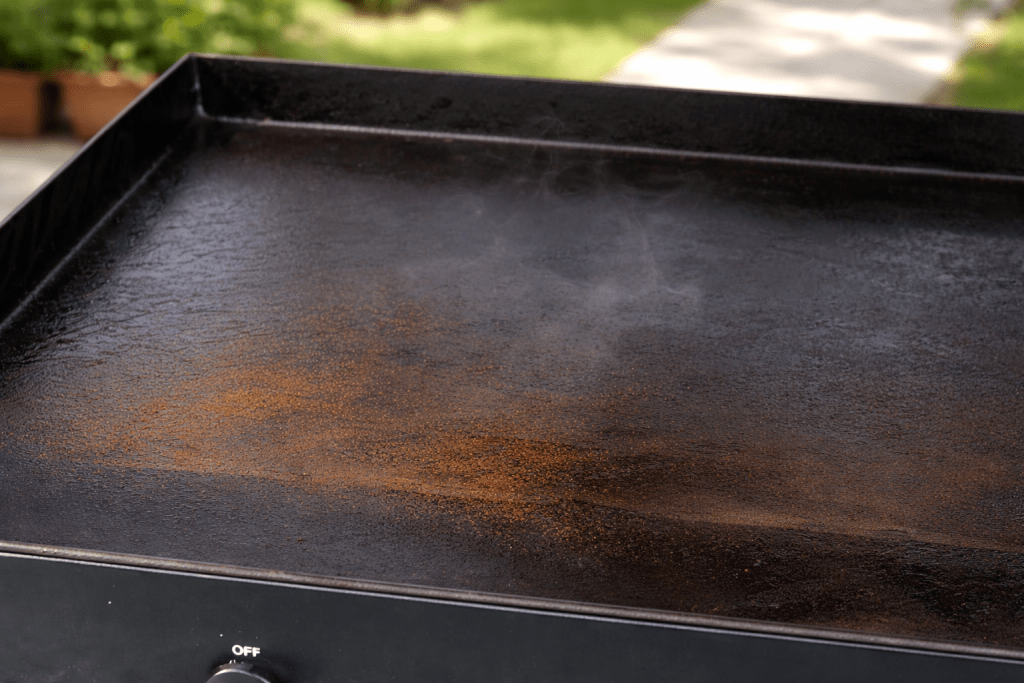
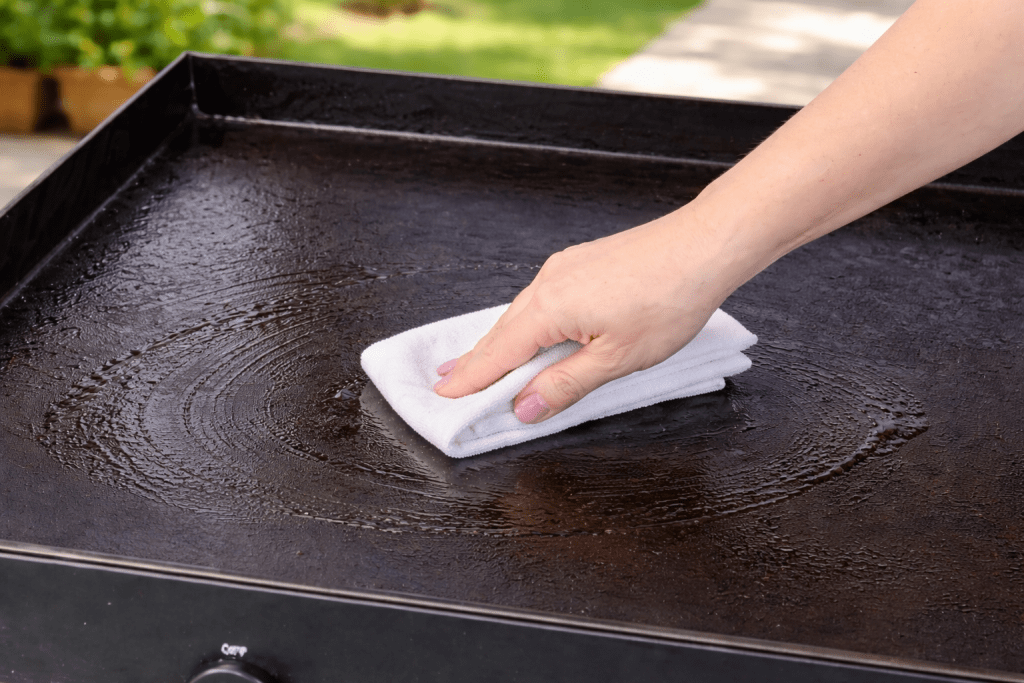
Step 4: Wipe the Surface Clean and Dry It Thoroughly
As the rust comes up, wipe the griddle down with paper towels or a clean cloth so you can see what still needs attention. Keep wiping until most of the orange rust dust and dark residue is gone. Once the rust is fully removed, turn the burners back on low for a few minutes to dry the surface completely. Any leftover moisture can cause rust to come back fast, so do not rush this part.
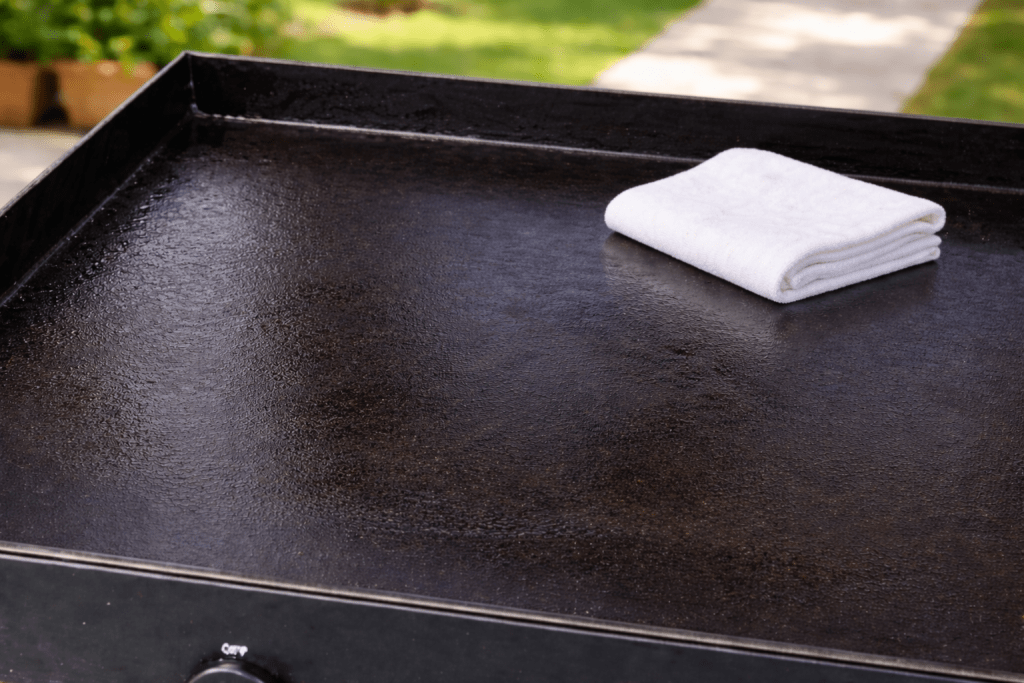
Step 5: Re-Season the Griddle
Once the surface is clean and completely dry, apply a very thin layer of high-heat oil. Heat the griddle until the oil starts to smoke and bond to the metal. Repeat this process with 2–3 more thin layers until the surface darkens and looks more even. This helps protect the griddle and gets it ready for cooking.
How to Re-Season Your Griddle After Removing Rust
Once the rust is gone and the surface is fully dry, it’s time to rebuild that protective seasoning layer. This is what helps protect the metal and gets your griddle ready to cook on again. If you need a little more help with that part, I walk through the full process in my guide: How to Season a Blackstone Griddle
Apply a very thin layer of oil across the cooktop, then heat the griddle until the oil darkens and bonds to the surface. Repeat that process in thin layers until the griddle starts developing a darker, more even finish. Thin coats work much better than heavy ones here, and they help build a smoother, stronger seasoning layer over time.
A Simple Way to Keep Your Griddle Rust-Free
Once you’ve removed rust from your Blackstone griddle, the biggest thing is keeping it from coming back.
Rust usually starts when moisture sits on the steel for too long. That could be from humidity, condensation under the lid, rain in the air, or little bits of debris trapping moisture on the surface.
After cleaning off the rust, I like to dry the griddle really well, add a fresh seasoning layer, and leave behind a very light coat of oil.
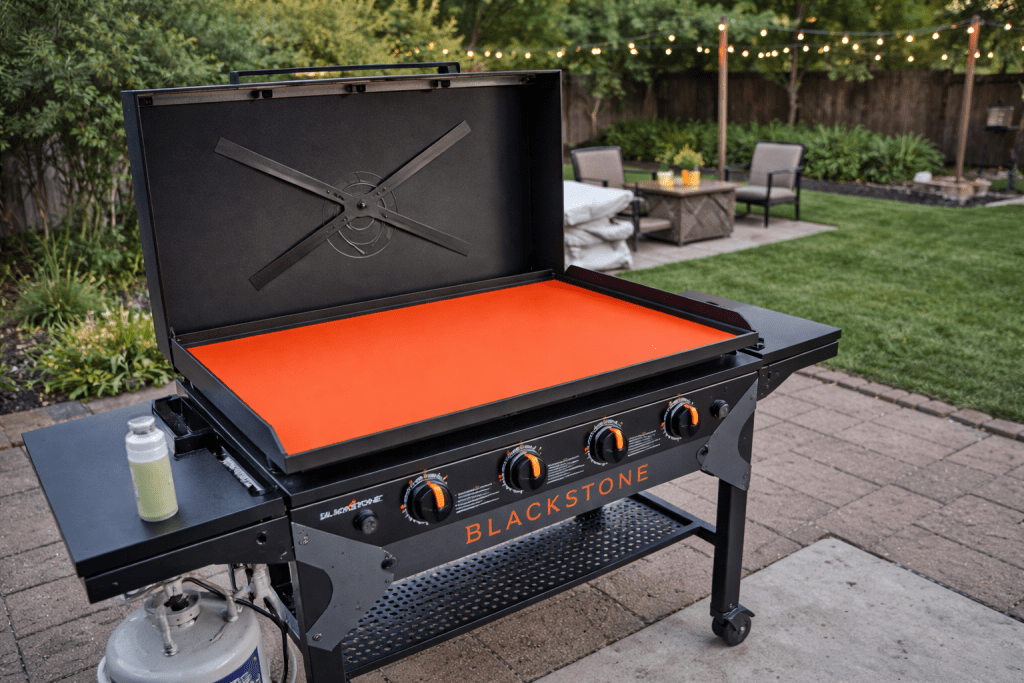
One small thing that has helped me is using a fitted silicone griddle mat when the griddle is not in use.
It sits directly on the cooking surface, so it gives the steel an extra layer of protection from moisture, dust, pollen, and anything else that might settle under the lid. It’s not a replacement for seasoning, but it does help keep the surface cleaner and easier to maintain between cooks.
That can be especially helpful after you’ve just spent time removing rust and re-seasoning the griddle.
It helps:
- Preserve the fresh seasoning layer
- Keep moisture and debris off the cooking surface
- Reduce the chances of rust coming back
- Make the griddle feel more ready to use next time
After you’ve gone through the work of removing rust and re-seasoning the surface, a silicone mat is a simple way to help keep that clean cooking plate protected between cooks, especially if your griddle lives outside.
 Here is the silicone cover I use and recommend:
Silicone Griddle Cover for Blackstone