Why Seasoning Your Blackstone Griddle is a Must
Seasoning does three critical things:
1. It creates a natural nonstick surface.
When oil is heated past its smoke point, it bonds to the steel through a process called polymerization. That bond forms a smooth, durable layer that keeps food from sticking.
2. It protects against rust.
Raw steel and moisture don’t mix. Seasoning seals the surface so oxygen and water can’t attack the metal.
3. It improves flavor and performance.
A properly seasoned griddle holds heat better, sears cleaner, and develops better crust on meats and vegetables. The surface becomes more responsive and easier to cook on over time. The darker it gets, the stronger it becomes.
Seasoning isn’t just “wiping oil on metal.”
It’s controlled heat transforming oil into a bonded layer that becomes part of your griddle. You’re essentially building a protective cooking surface from scratch – layer by layer.
Every time you cook, that surface continues to strengthen. That’s why experienced griddles look deep black and almost satin-like. That finish is earned.
Think of seasoning like breaking in a cast iron pan or conditioning leather boots. The first round matters. The next few rounds matter more. And over time, it becomes better than new.
A seasoned griddle:
Releases food cleanly
Resists rust
Cleans up easily
Develops better sear
And most importantly — it gives you confidence when you cook.
If you treat your griddle right from the beginning, it will last years. Maybe decades.
Season it properly. Keep it lightly oiled. Respect the steel.
The reward is a cooking surface that only gets better with time.101
How to Season a Blackstone Griddle (Step by step)
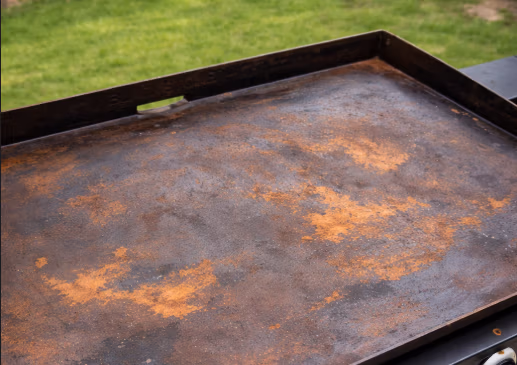
1. Start with a Clean, Bare Surface –
Before anything else, take a moment to look at your griddle. If it’s brand new, it may still have a light factory coating on the steel. If it’s been used before, there might be a little residue or dust sitting on the surface.
Give the griddle a quick clean with warm water and a gentle scrub, then dry it completely. You want to start with bare, clean steel so the seasoning can bond properly.
Think of this as preparing the canvas. Once the surface is clean and dry, you’re ready to start building that deep, beautiful seasoning layer that will make every meal on your griddle even better.
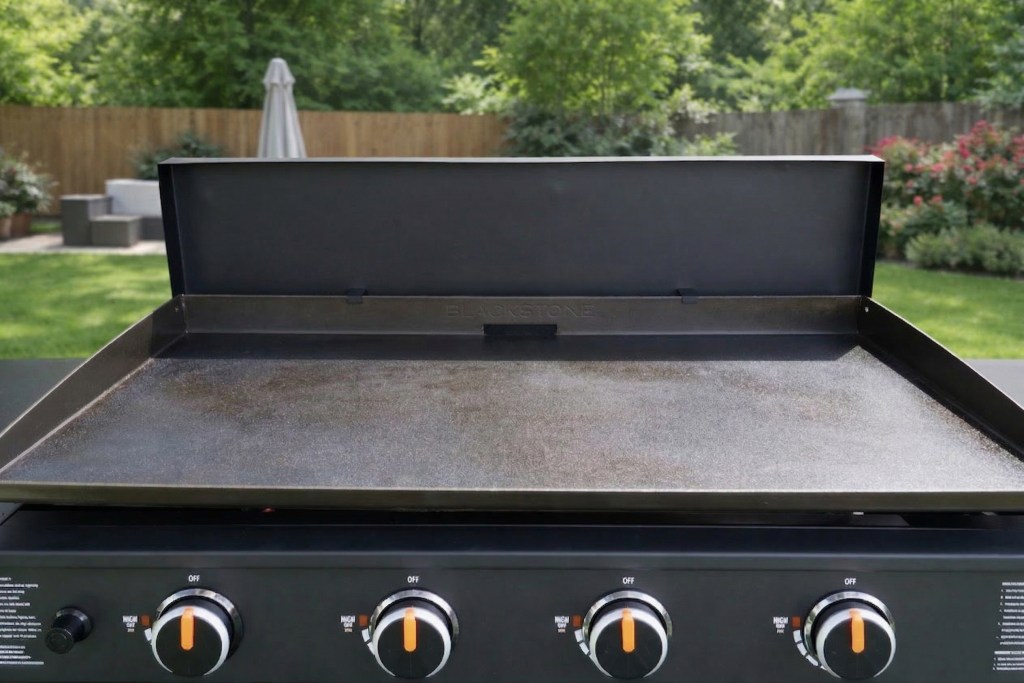
2. Heat the Griddle Until It’s Hot –
Once the surface is clean and dry, turn the burners on and let the griddle heat up. Give it a few minutes until the steel gets nice and hot and you begin to see a little heat rising from the surface.
This step is important because seasoning works when heat and oil come together. The hot steel opens the surface and prepares it for the thin layer of oil that will bond to the metal.
Let the griddle fully warm up, take in that first bit of heat rolling off the surface, and then you’re ready for the step where the real seasoning begins.
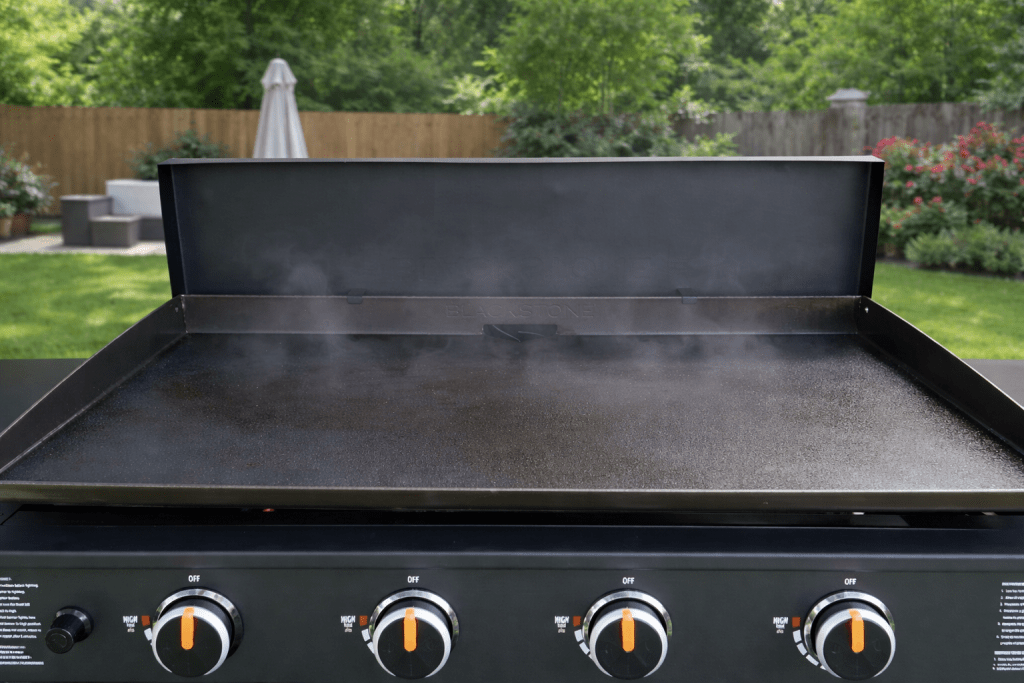
3. Apply a Very Thin Layer of Oil –
Once the griddle is hot, add a small amount of your oil to the surface. Don’t worry about spreading it perfectly at first — just get a little on there.
You want the oil layer to be thin. If the surface looks wet or shiny, there’s too much oil. That thin layer is what will bond to the steel and start building your seasoning.
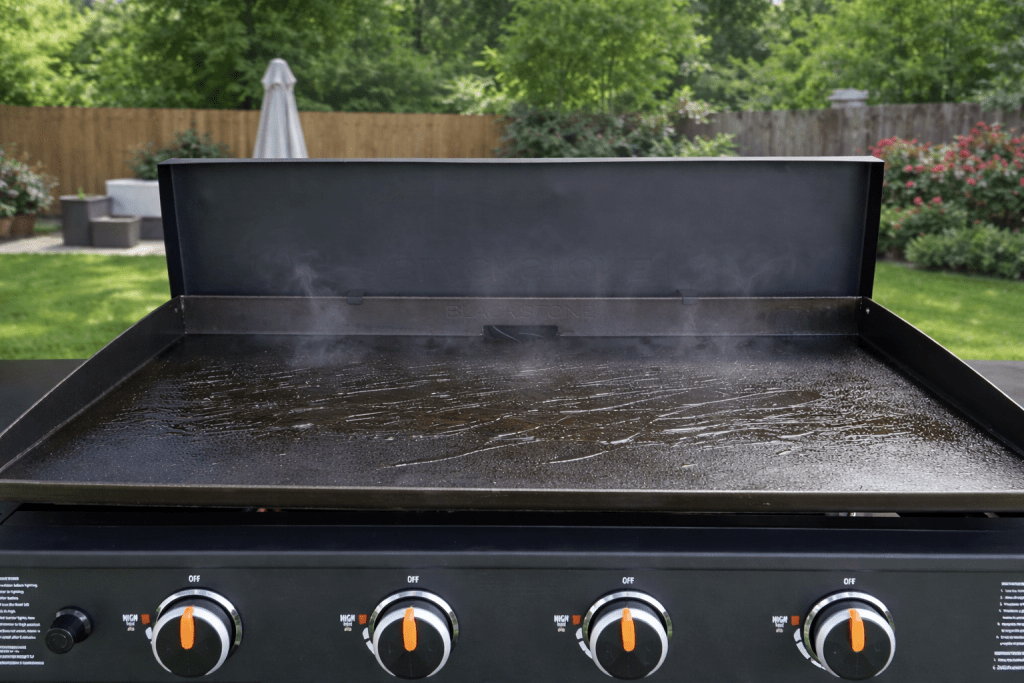
4. Spread the Oil –
Now take a towel or a paper towel and gently spread the oil across the entire griddle surface. The easiest way is to grip the towel with tongs so you can move it safely across the hot steel.
Work the oil into the corners and along the edges so the whole surface is covered.
Then wipe it once more to thin it out. The layer should be extremely thin — almost dry looking. If the griddle looks wet or shiny, there’s too much oil.
This thin layer is exactly what allows the oil to bond to the steel and begin building your seasoning.
5. Repeat the Process to Build the Seasoning –
At this point you’ve created your first layer of seasoning. But great griddles aren’t built with just one layer — they’re built layer by layer.
Add another small amount of oil, spread it into a very thin coat, and let it smoke just like before. Each round will slowly darken the steel and strengthen the protective surface.
Repeat this process 3–5 times. You’ll notice the griddle starting to develop that deep, dark finish that seasoned griddles are known for.
That’s when you know it’s ready.
From here on, every meal you cook will keep improving that surface — and your griddle will only get better with time.
What You’ll Need
Seasoning a Blackstone doesn’t require a garage full of gear. But having the right basics makes the process smoother and helps you avoid common mistakes.
Here’s what I recommend having around:
Blackstone seasoning conditioner (or high heat oil)
Use an oil with a high smoke point so it can handle the heat and build a proper seasoning layer. (see recommended oils above)
Paper towels (or lint-free cloths)
You’ll use these to spread the oil into very thin layers. Thin is everything. If it looks wet, it’s too much.
Tongs or heat-resistant gloves
The surface gets extremely hot. Grip your paper towels with tongs or wear gloves so you can spread oil safely and evenly.
Scraper or griddle spatula
You want a clean surface before you start. A scraper removes factory residue (on new griddles) or old buildup.
Squeeze Bottle (for water)
Seasoning produces serious heat and smoke. It’s smart to keep water nearby just in case.
That’s it. No complicated setup. No special tools required.
The key isn’t the equipment — it’s applying thin layers and letting the heat do the work.
A Simple Way to Keep Your Griddle Rust-Free
Seasoning doesn’t usually fail because of cooking.
It fails because of moisture.
Humidity, condensation under the lid, and weather changes can slowly break down even a well-built surface. And once moisture sits on steel long enough, rust tries to take over.
After every cook, I always leave a very light coat of oil on the surface.
But there’s one extra step that makes a big difference.
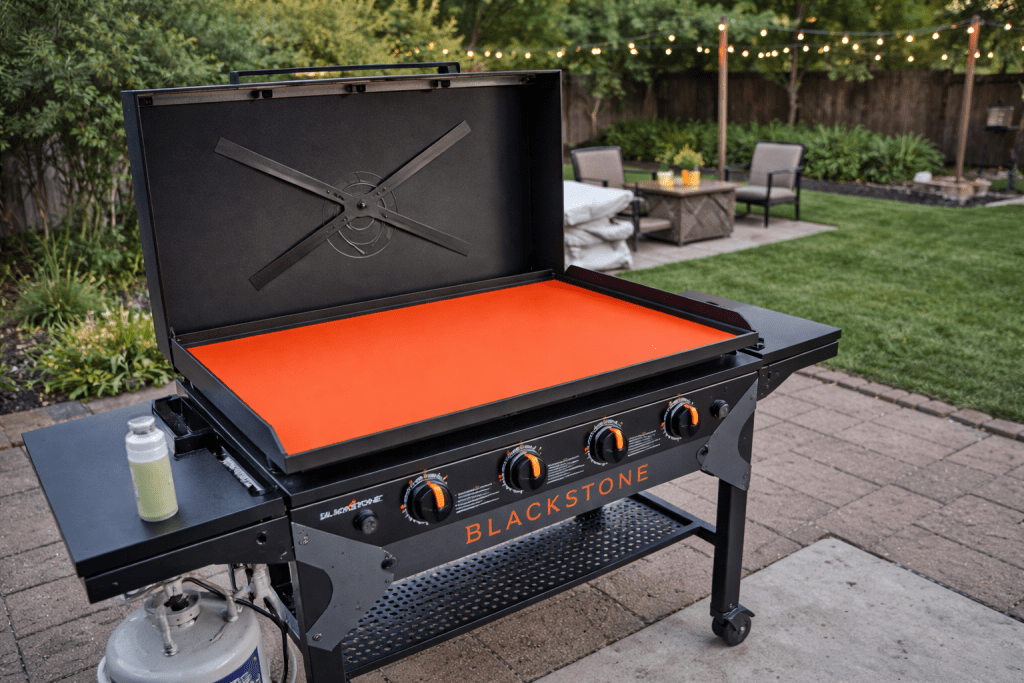
A fitted silicone griddle mat sits directly on the cooking surface and creates a barrier between your seasoning and open air. No condensation settling overnight. No debris scratching the surface when you close the lid.
It helps:
Preserve your hard-earned seasoning
Reduce the chance of rust forming between cooks
Keep the surface clean and ready
Cut down on how often you need to re-season
If you want your griddle ready to fire up anytime, protecting the surface matters just as much as seasoning it correctly.
 Here is the silicone cover I use and recommend:
Silicone Griddle Cover for Blackstone